
From Sketch to Screen: How We Bring Characters to Life
The journey of bringing a character to life is a magical blend of art, technology, and imagination. At the heart of every great animation is a character that feels real, relatable, and captivating. But what’s the process of taking a character from a simple sketch to an animated figure ready to leap off the screen? Let’s take you behind the scenes!
Step 1: Concept and Sketching
Every great character starts with a concept. Our team begins by brainstorming ideas that capture the personality, story, and style of the character. This can be influenced by the character’s role, the world they live in, or even the message they need to convey.
Once we have a clear idea, our artists sketch the first rough drafts. At this stage, it’s all about exploring different shapes, styles, and expressions. These early sketches are fluid, allowing us to refine and evolve the character’s look as we go. Think of this step as laying the foundation for what’s to come.
Step 2: Refining the Design
Once the initial sketches are approved, we move into refining the character’s design. This involves defining key features like facial expressions, body proportions, clothing, and colour schemes. We explore various iterations, making sure every element aligns with the character’s personality and story.
At this point, we also work closely with clients to ensure the character reflects their vision. Whether it’s a playful mascot, a sleek futuristic hero, or an everyday figure, this is where the character starts to take on a more defined identity.
Step 3: 3D Modelling or Digital Drawing
With the final design in hand, it’s time to bring the character into the digital world. Depending on the project, this step might involve 3D modelling or creating detailed digital drawings for 2D animations. For 3D characters, we use specialised software to sculpt the character in virtual space, ensuring every angle, texture, and detail is spot on.
In this stage, the character starts to gain depth and dimension, going from a flat sketch to a model that feels real and tangible.
Step 4: Rigging and Animation
Now comes the fun part: making the character move! Before we can animate, we need to “rig” the character. Rigging involves creating a skeleton for the character, allowing it to move realistically. Think of this as giving the character joints and muscles so it can walk, run, dance, or even fly!
Once the rig is set up, we move into animation. This is where the magic happens. Using keyframes and motion-capture data (if needed), we bring the character to life. Every action, from a simple head nod to an intricate dance sequence, is carefully crafted to ensure fluid, natural movement.
Step 5: Adding the Final Touches
To really make the character pop, we add finishing touches such as lighting, shadows, and textures. This gives the character the appearance of interacting with its environment. Whether it’s making the skin look realistic or giving a fabric its texture, these final touches elevate the character to a professional, polished level.
Step 6: On the Screen
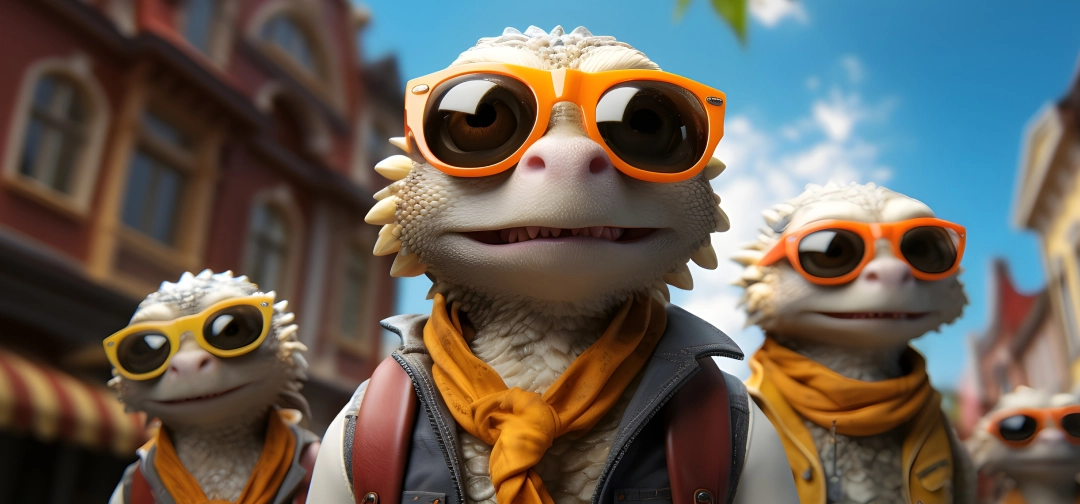
After all the hard work, the character is ready to jump into the world! Whether it’s for a commercial, a brand video, or a full animated story, seeing the character in action is always a thrilling moment. Every frame tells a part of their story, and seeing it come to life on the screen is the ultimate payoff for all the creativity, effort, and detail that goes into the process.
Final Thoughts
Bringing a character to life from a simple sketch is a complex but rewarding process. It’s where artistry meets technology, and creativity merges with precision. Every step, from the first rough sketch to the final frame, is driven by a passion for storytelling. And when the character finally appears on the screen, it’s a reminder of just how magical animation can be.
This article gives an in-depth look at the character creation process while keeping the tone fun and informative. Let me know if you’d like to adjust or expand any sections!